What makes this component different from a standard circuit breaker is that you can see it working. When the knife blades are open, there’s a visible air gap between conductors. No guessing. No relying on an indicator light. You look at the blades and you know power is off.
That visible confirmation matters more than people realize, especially when someone’s about to put their hands inside a panel carrying 480 volts.
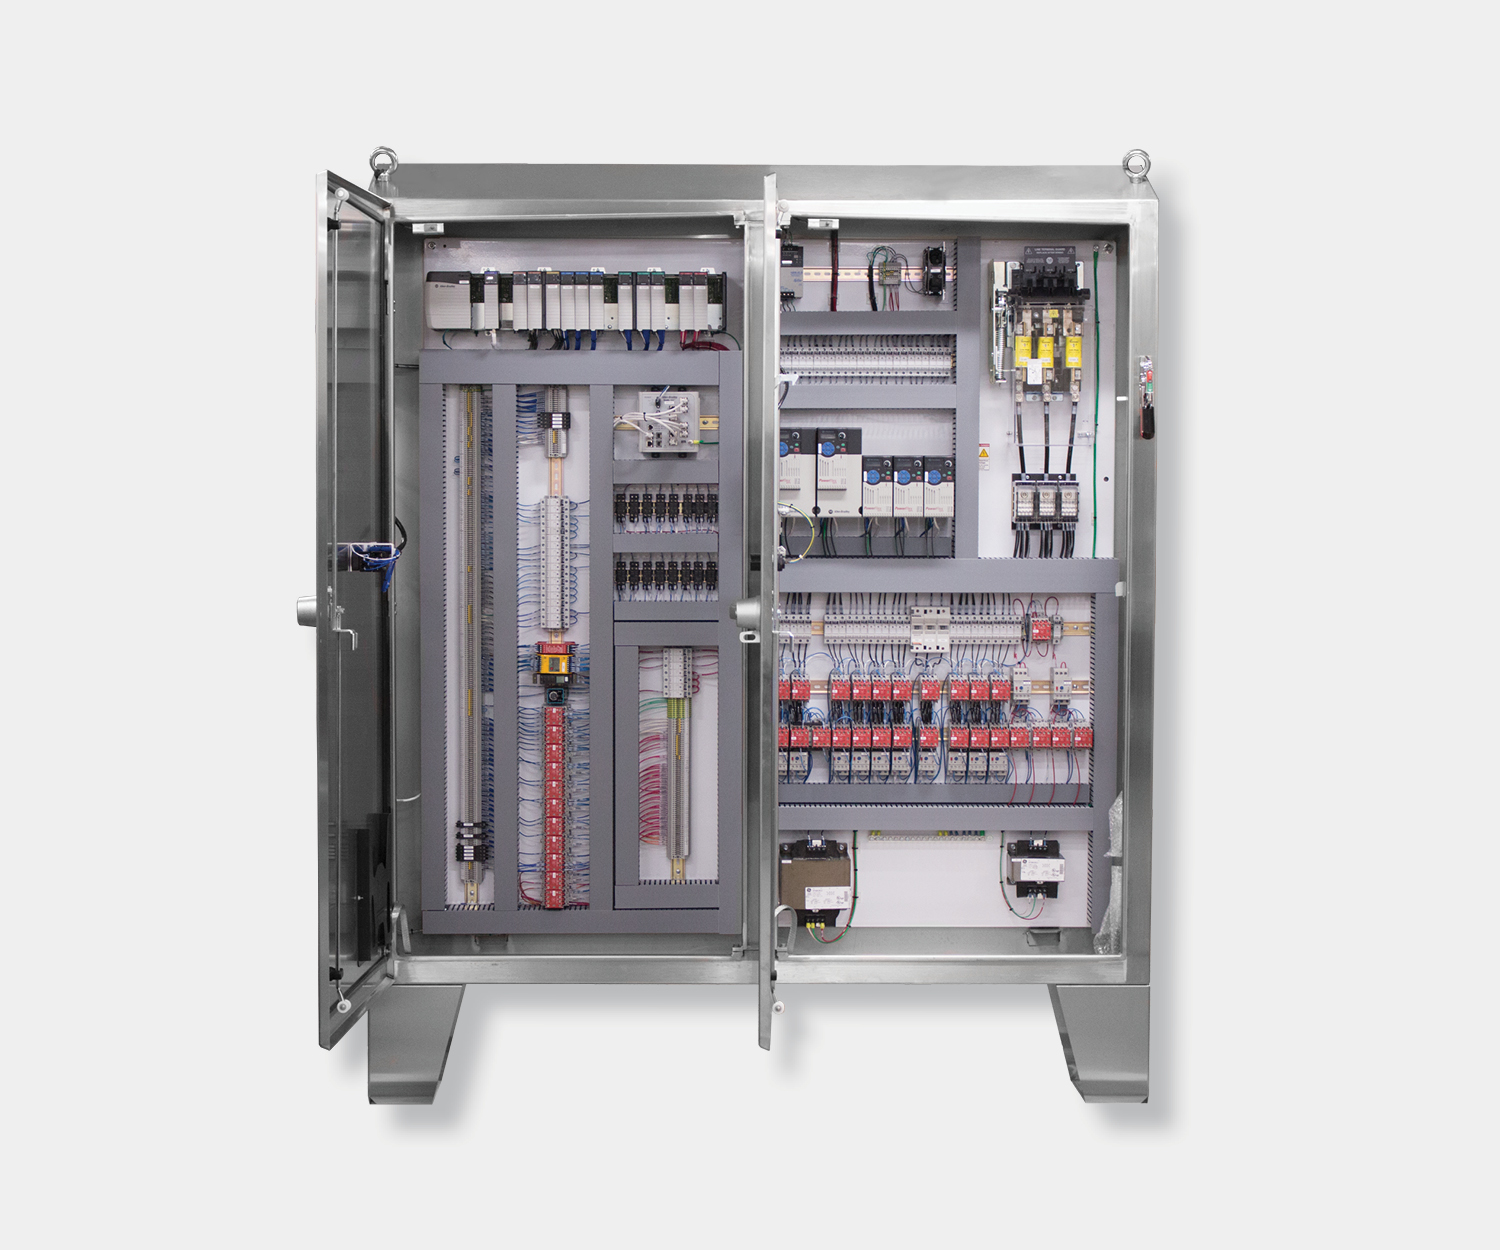
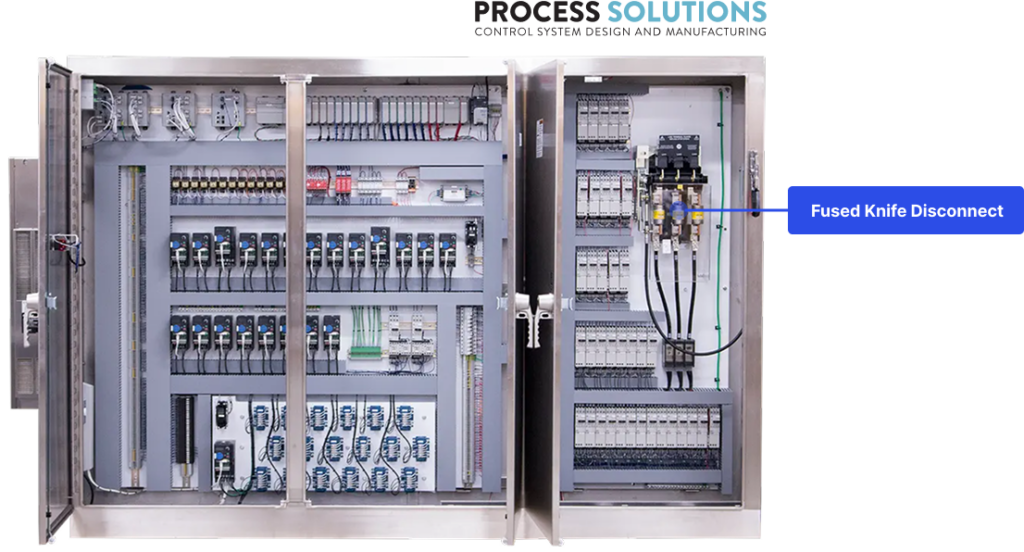
What a fused knife disconnect does
The fused knife disconnect does two jobs in one package: it’s a main power switch and it’s overcurrent protection.
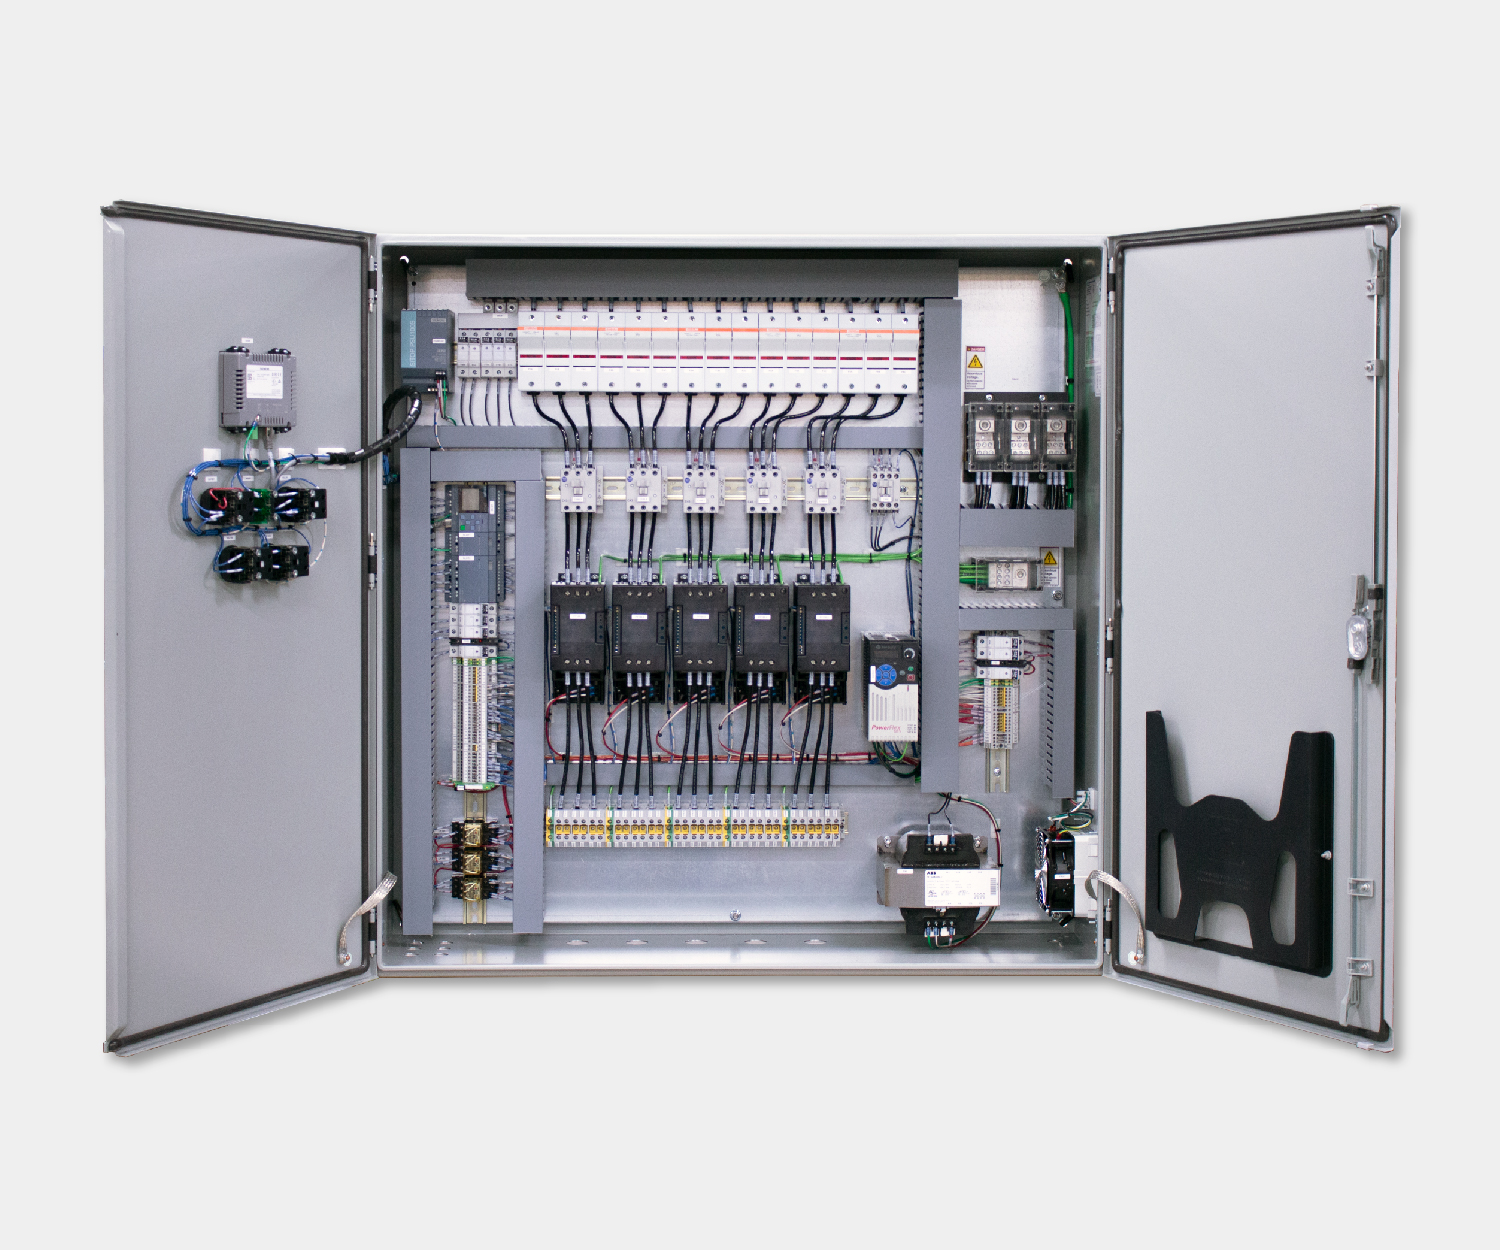
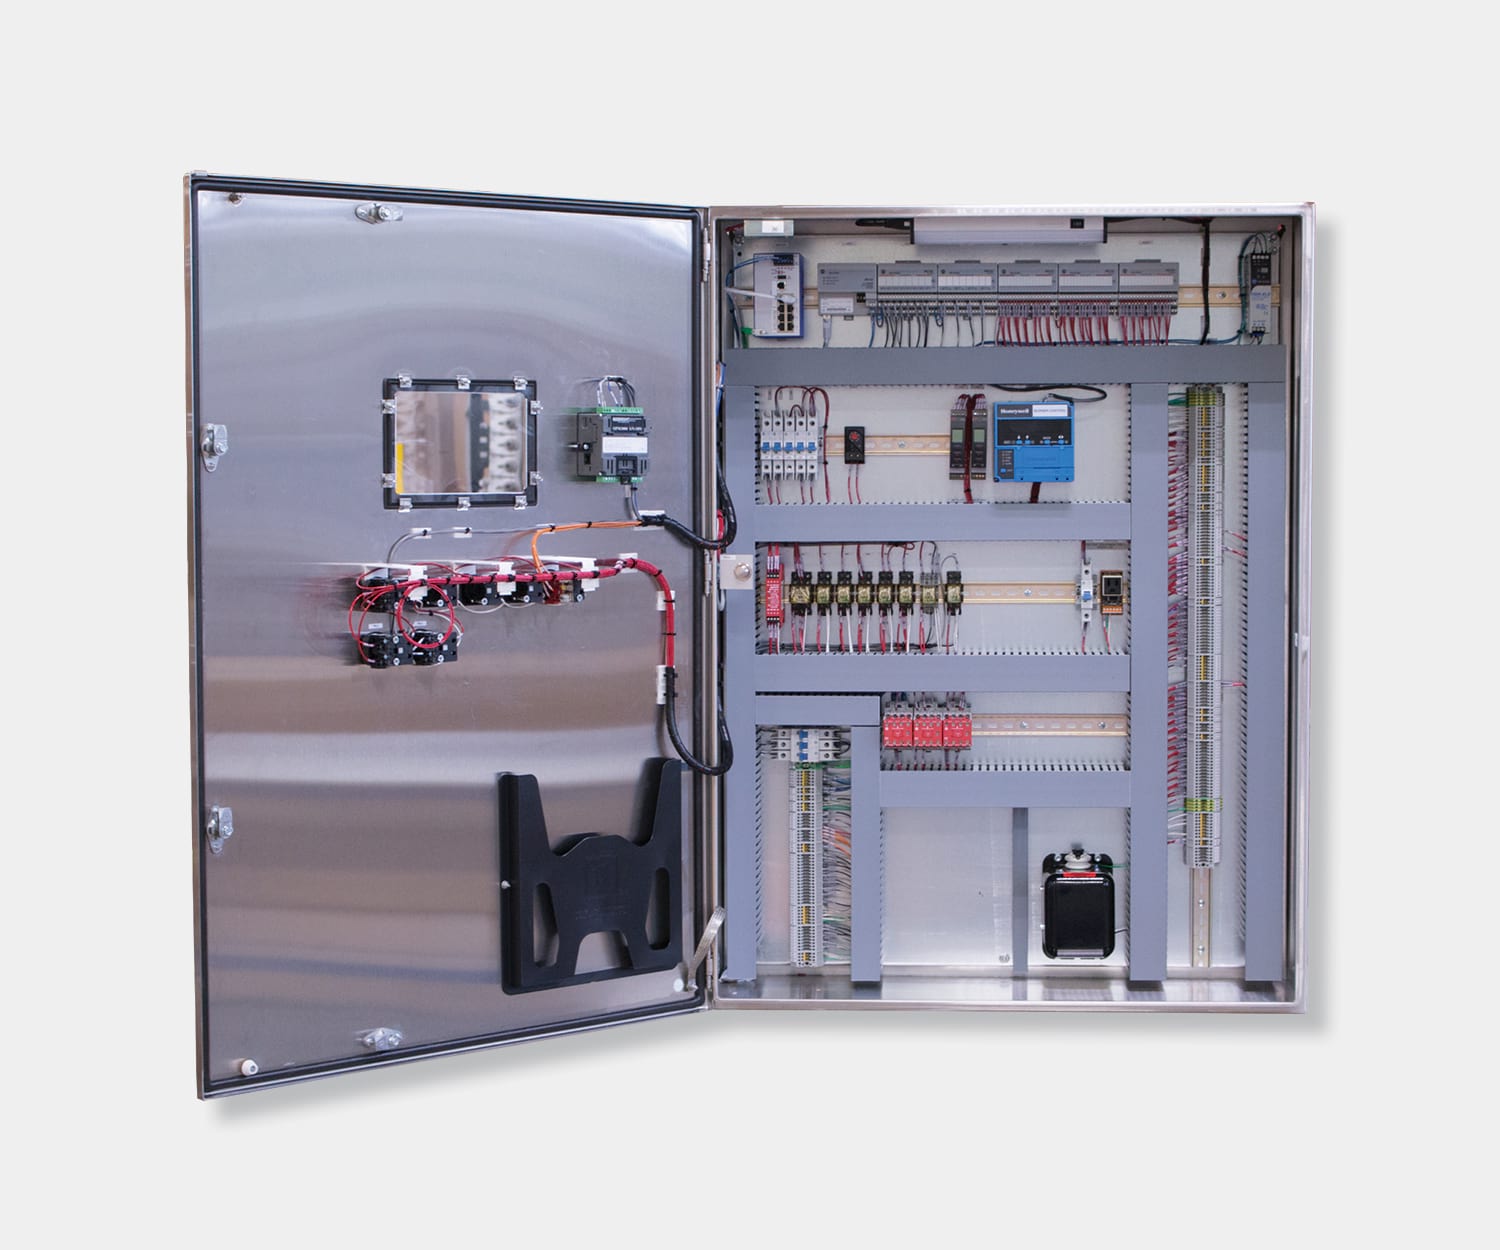
The disconnect side uses knife blades that physically separate from their contact jaws when you turn the external handle to the OFF position. That physical separation creates a visible gap you can verify through the panel window or by opening the door. This is the foundation of safe maintenance work. Before anyone touches anything inside the panel, they verify the blades are open.
The fuse side protects the entire panel from overcurrent events. The fuses sit in series with the knife blades, so all power flowing into the panel passes through them. If a short circuit or severe overload occurs downstream, the fuses blow and cut power before the fault can cause serious damage.
Combining both functions into one device saves panel space and simplifies the power entry design. You get your main disconnecting means and your primary overcurrent protection in a single mounting location, right where power enters the enclosure.
Code requirements for panel disconnects
NEC Article 409 and UL 508A both require industrial control panels to have a main disconnecting means. The fused knife disconnect is one of the most common ways to meet that requirement.
Here’s what code requires. The disconnect must be mounted where operators can reach it without opening the panel door. That means an external operator handle on the outside of the enclosure. Turning that handle to OFF opens the knife blades inside.
Most panels include a door interlock that mechanically prevents opening the panel door while the disconnect is in the ON position. This keeps unqualified personnel from exposing themselves to live conductors. There’s also a defeat mechanism, usually a hidden lever or tool-operated release, that lets qualified electricians bypass the interlock when they need to work inside with power on. The defeat is intentionally awkward to operate so nobody trips it accidentally.
The disconnect rating matters too. It must be rated for at least the total connected load of the panel. Undersizing the disconnect creates a code violation and a potential failure point. Your panel designer calculates this based on all loads plus applicable NEC demand factors from Article 220.
Fuse selection and ratings
The fuses in your main disconnect aren’t interchangeable. The class and rating you pick directly affects how your panel handles fault conditions.
Four things to keep in mind when selecting fuses:
Voltage class. The fuses must be rated for the system voltage. A 480V panel needs fuses rated for at least 480V AC. Using fuses with a lower voltage rating is a code violation and a serious safety risk.
Amperage rating. This determines how much continuous current the fuse carries without blowing. It’s sized based on the panel’s total connected load, with appropriate demand factors applied.
Interrupting capacity. This is the maximum fault current the fuse can safely clear. If the available fault current at your installation exceeds the fuse’s interrupting rating, the fuse may not clear the fault safely. That scenario is as dangerous as having no protection at all.
Current-limiting characteristics. Current-limiting fuses reduce the peak let-through energy during a fault. This is where fuse selection gets directly tied to your panel’s Short Circuit Current Rating, or SCCR. A higher SCCR means the panel can be installed in locations with higher available fault current. Selecting the right current-limiting fuses is one of the most effective ways to boost panel SCCR without redesigning the entire assembly. Get the fuse selection wrong and you’ve got a protection gap that stays hidden until a fault occurs. That’s the worst possible time to find out.
Lockout/tagout integration
The fused knife disconnect is ground zero for lockout/tagout procedures. Every LOTO operation on the panel starts here.
The external handle includes provisions for padlocks. When the handle is in the OFF position, maintenance personnel lock it there so nobody can re-energize the panel while work is in progress. Most disconnect handles accommodate multiple padlocks, which matters when several workers need to lock out the same panel simultaneously.
OSHA’s lockout/tagout standard (29 CFR 1910.147) requires that energy-isolating devices be capable of being locked in the off position. The fused knife disconnect meets this requirement by design. The handle physically holds the blades open, and the padlock prevents the handle from moving.
The door interlock works in the opposite direction from what people expect. It doesn’t prevent you from turning the power off. It prevents you from opening the door while power is on. When the disconnect is OFF, the interlock releases and the door opens freely. When it’s ON, the door stays locked shut.
For qualified personnel who need to troubleshoot with the panel energized, the defeat mechanism bypasses the door interlock. This requires deliberate action, typically inserting a screwdriver or actuating a concealed lever, so it can’t happen by accident. Anyone using the defeat should be trained and following an energized work permit per NFPA 70E.
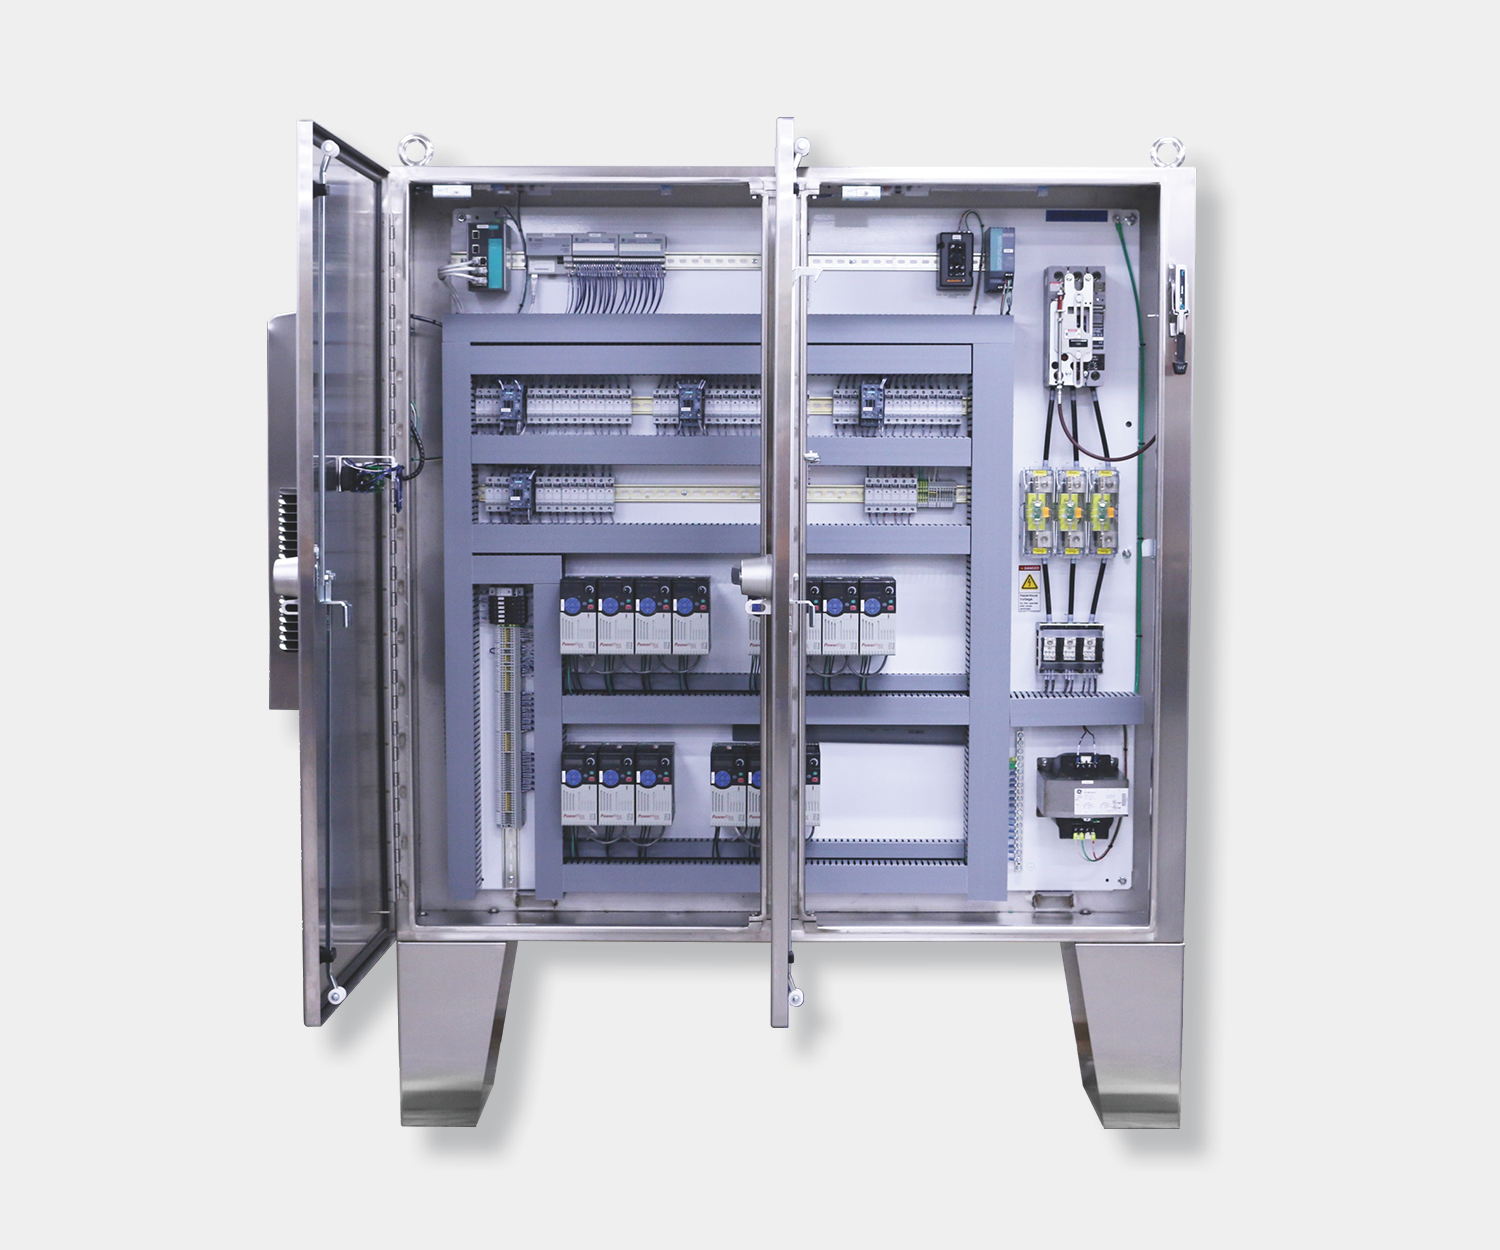
Installation and maintenance
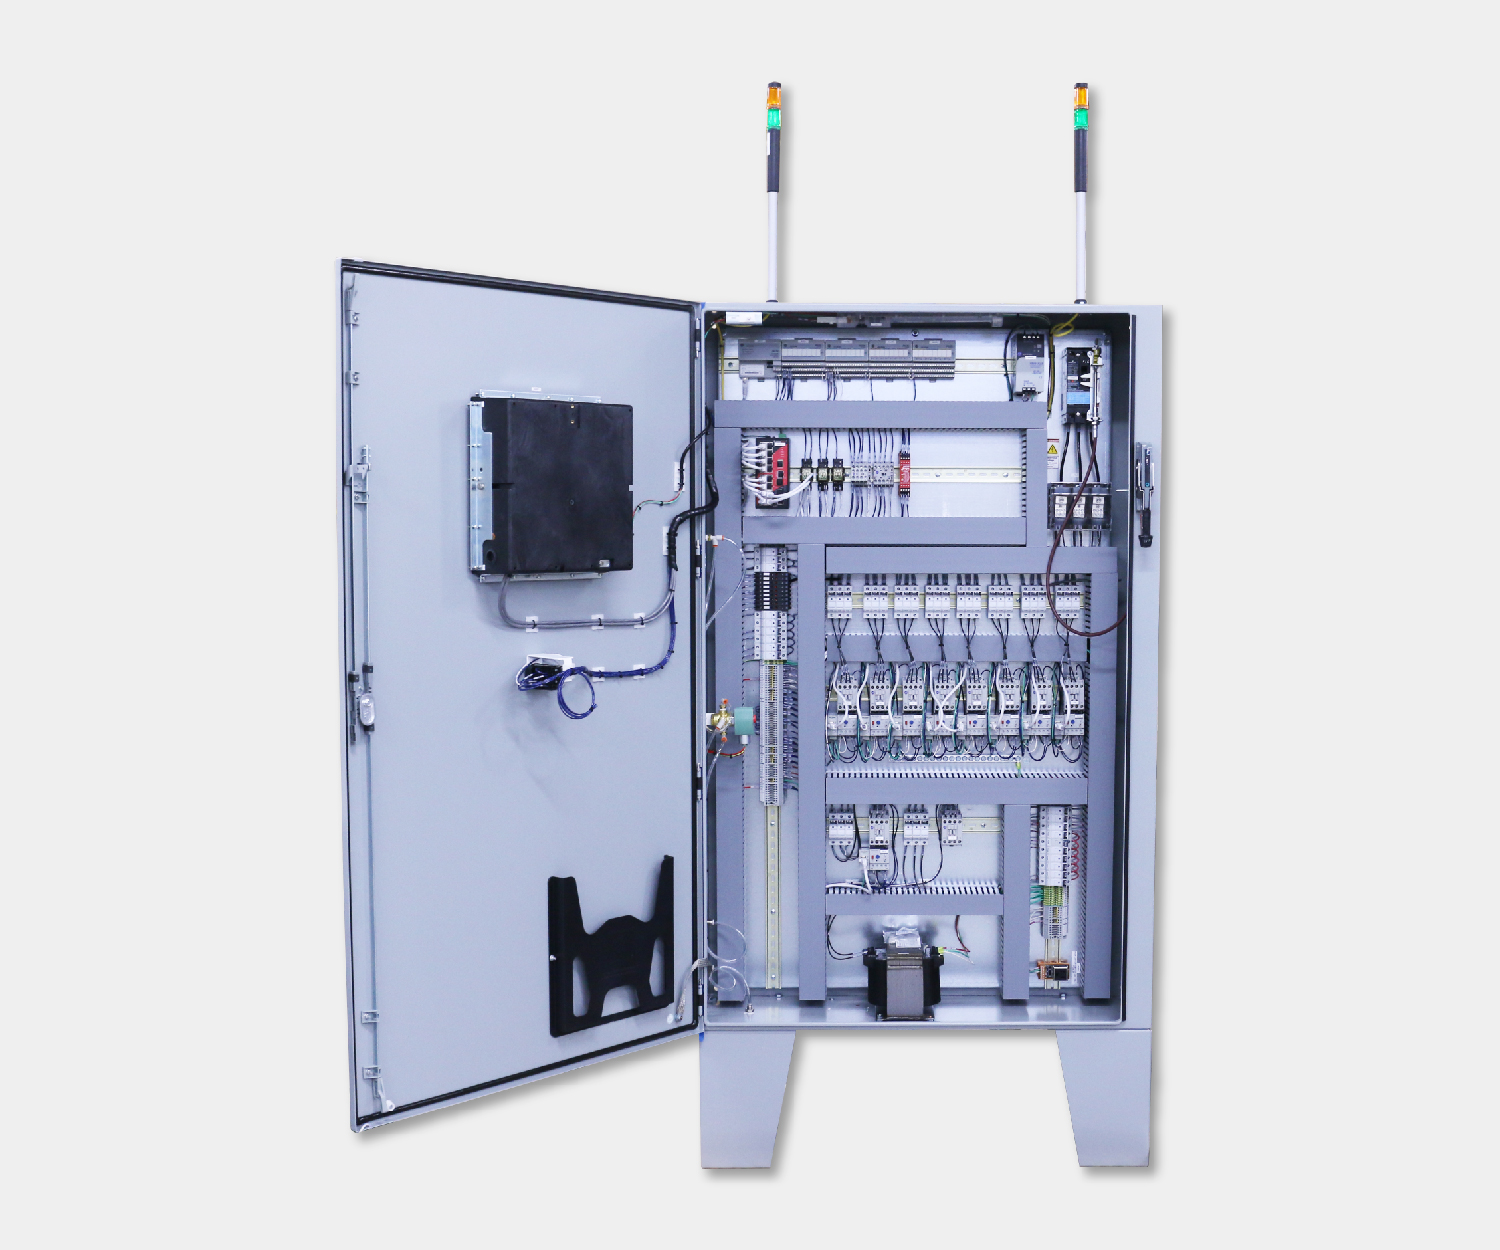
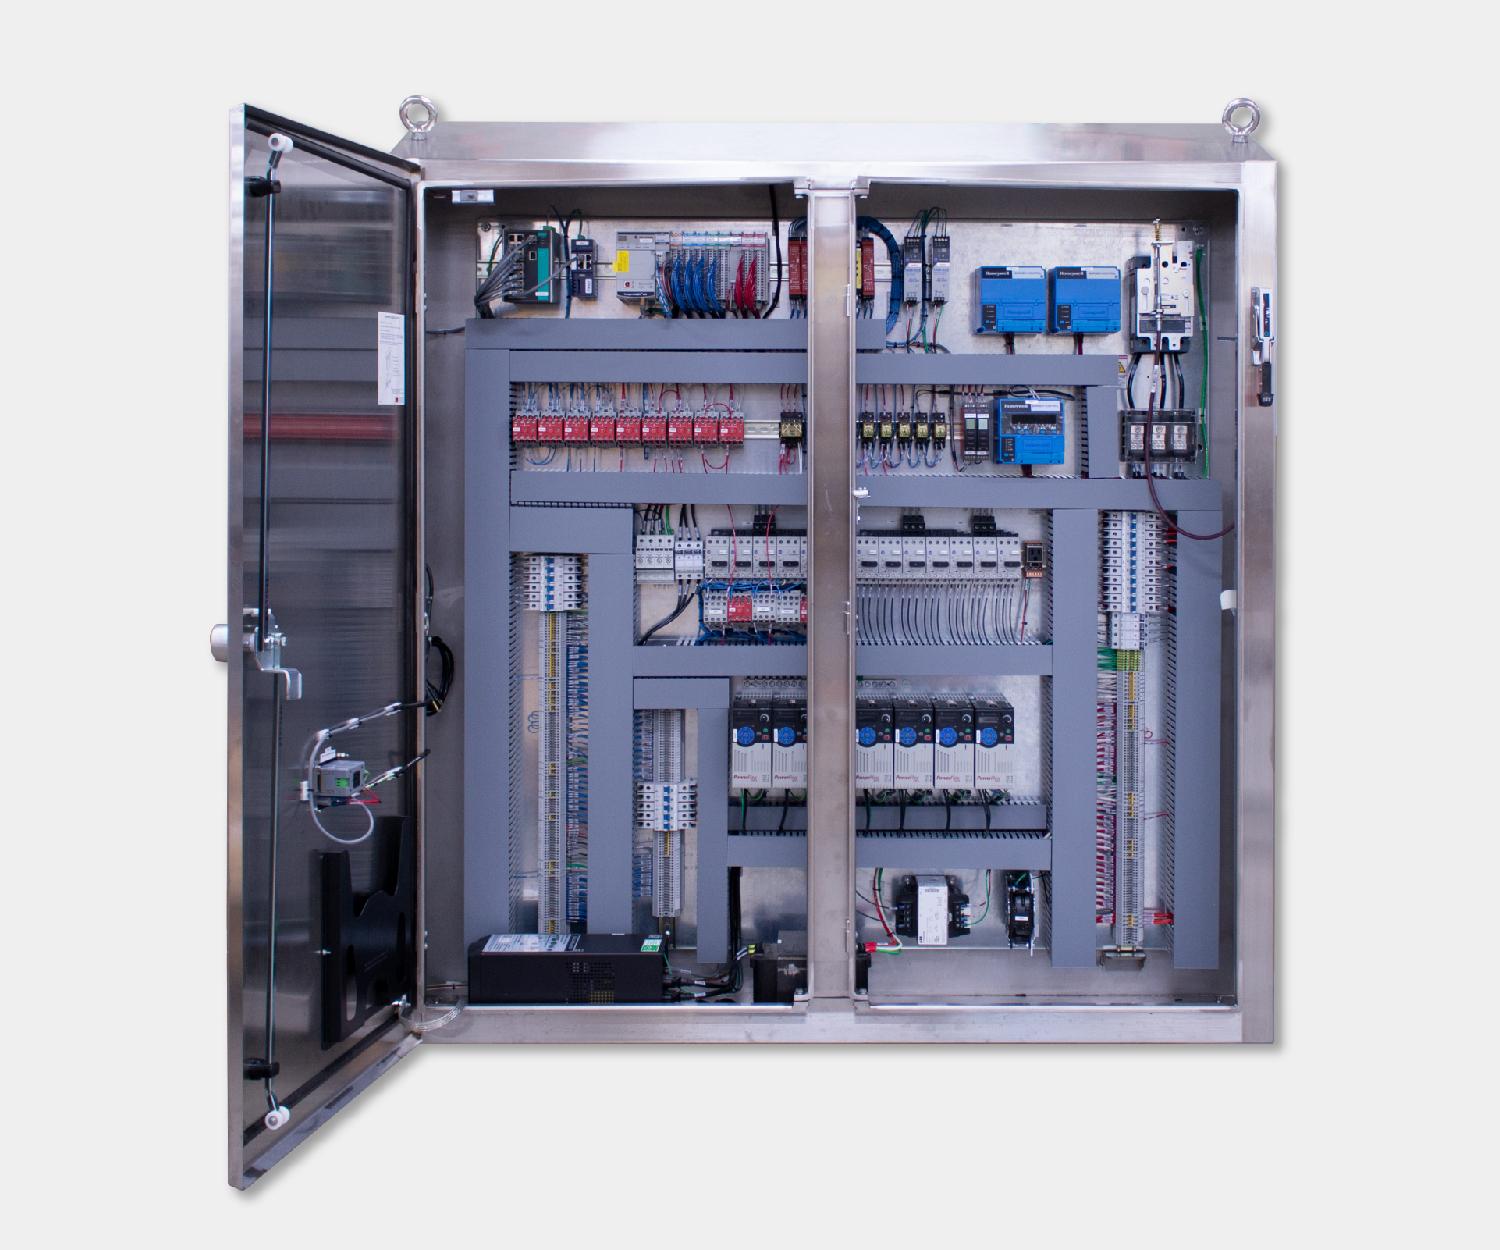
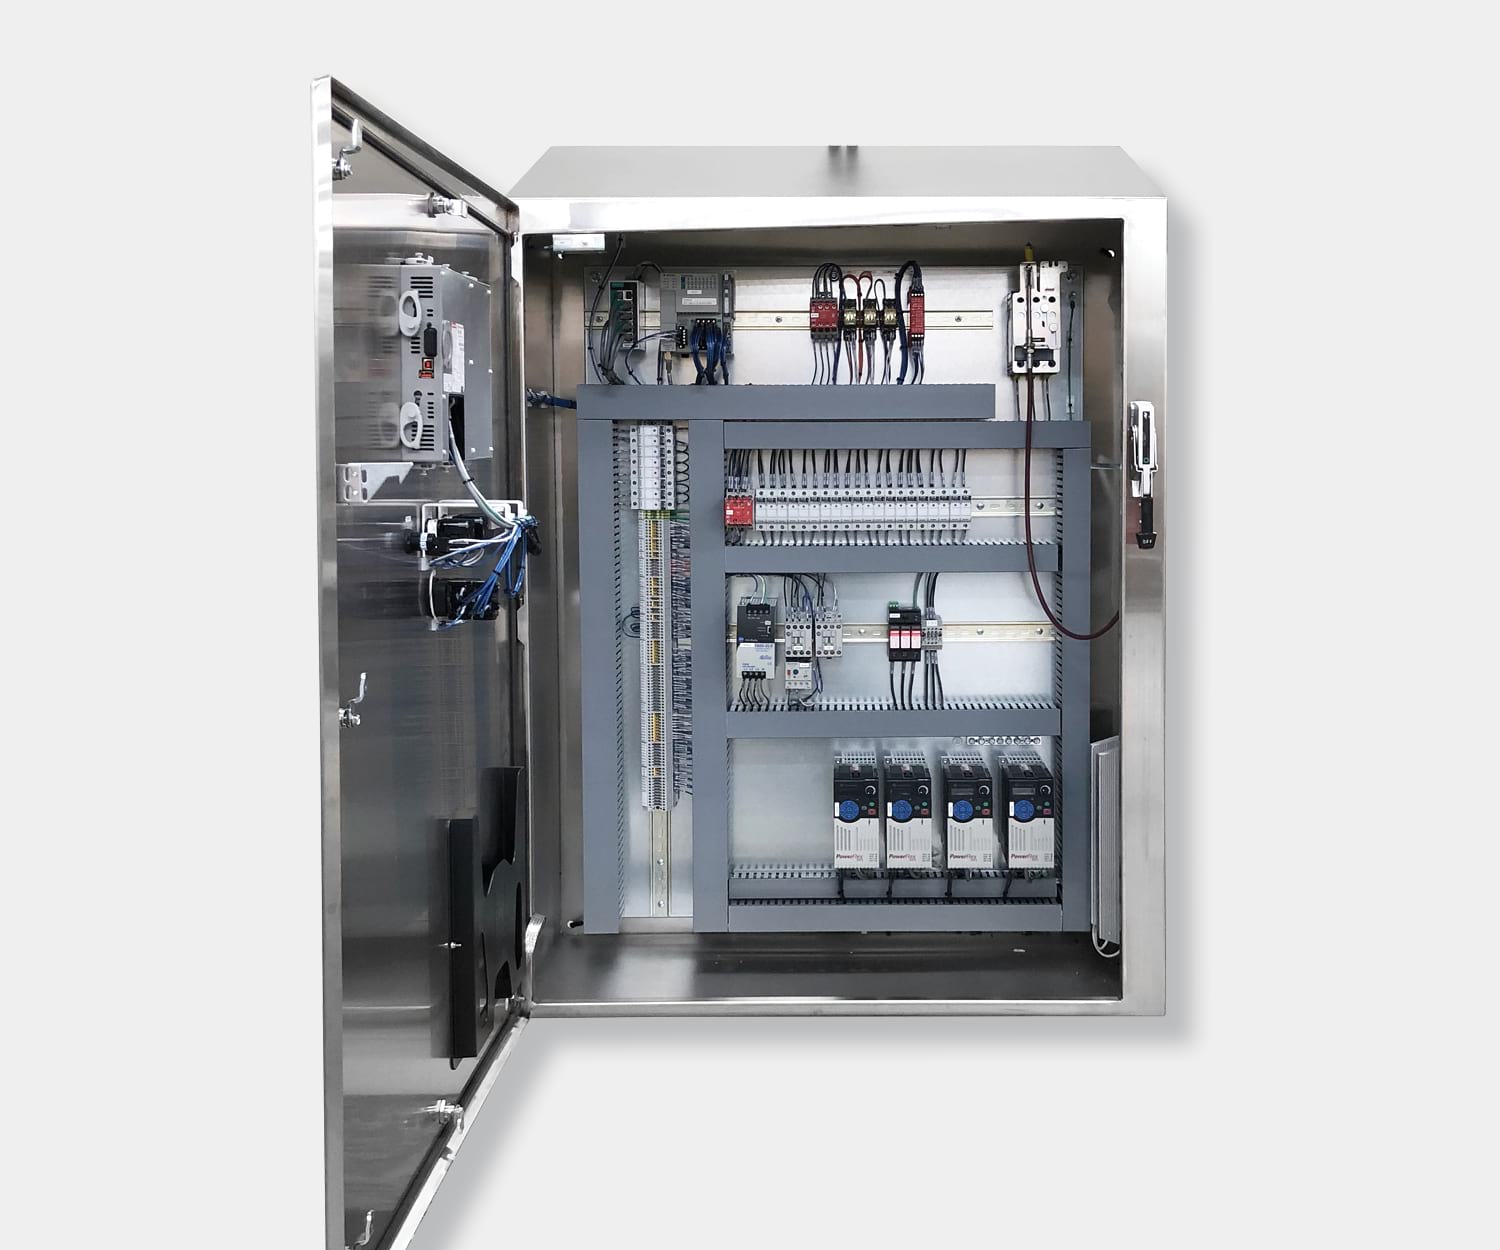
Mounting position comes first. The disconnect goes where power enters the panel, typically the upper right or upper left of the enclosure. The external handle needs to be accessible at a comfortable operating height, and the NEC specifies that the center of the handle grip should be no higher than 6 feet 7 inches from the floor.
Bus connections between the line-side conductors and the disconnect terminals must be torqued to manufacturer specifications. Under-torqued connections are one of the most common causes of overheating in disconnects. Over-torqued connections damage terminals and can crack insulators. Use a calibrated torque wrench and follow the values printed on the disconnect or listed in the installation manual.
During preventive maintenance, inspect the knife blades and fuse clips for signs of wear. Look for:
- Discoloration or darkening at connection points (overheating)
- Pitting or erosion on blade contact surfaces from arcing
- Loose or corroded fuse clips causing intermittent contact
- Cracked insulators around the blade assembly
If you see any signs of heating, don’t just re-torque and move on. Find out why it happened. Overheating usually points to a loose connection, an overloaded circuit, or blade contacts that have worn past their service life.
These disconnects are built to last 30+ years. But skip the maintenance and you won’t find out there’s a problem until someone reaches for that handle during an emergency.
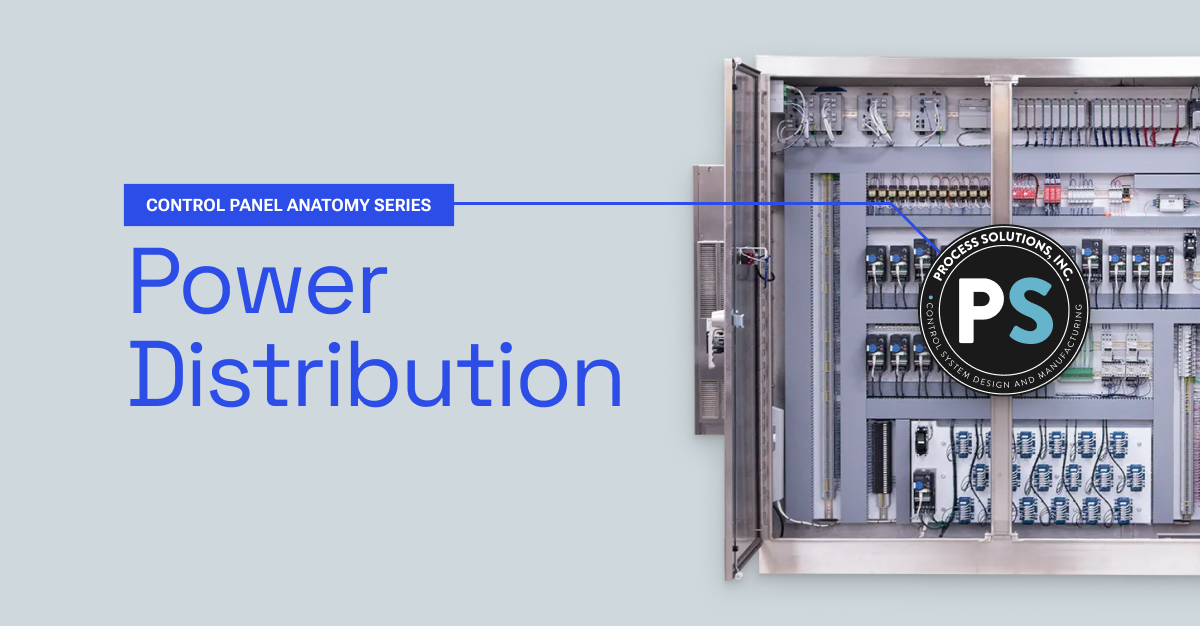
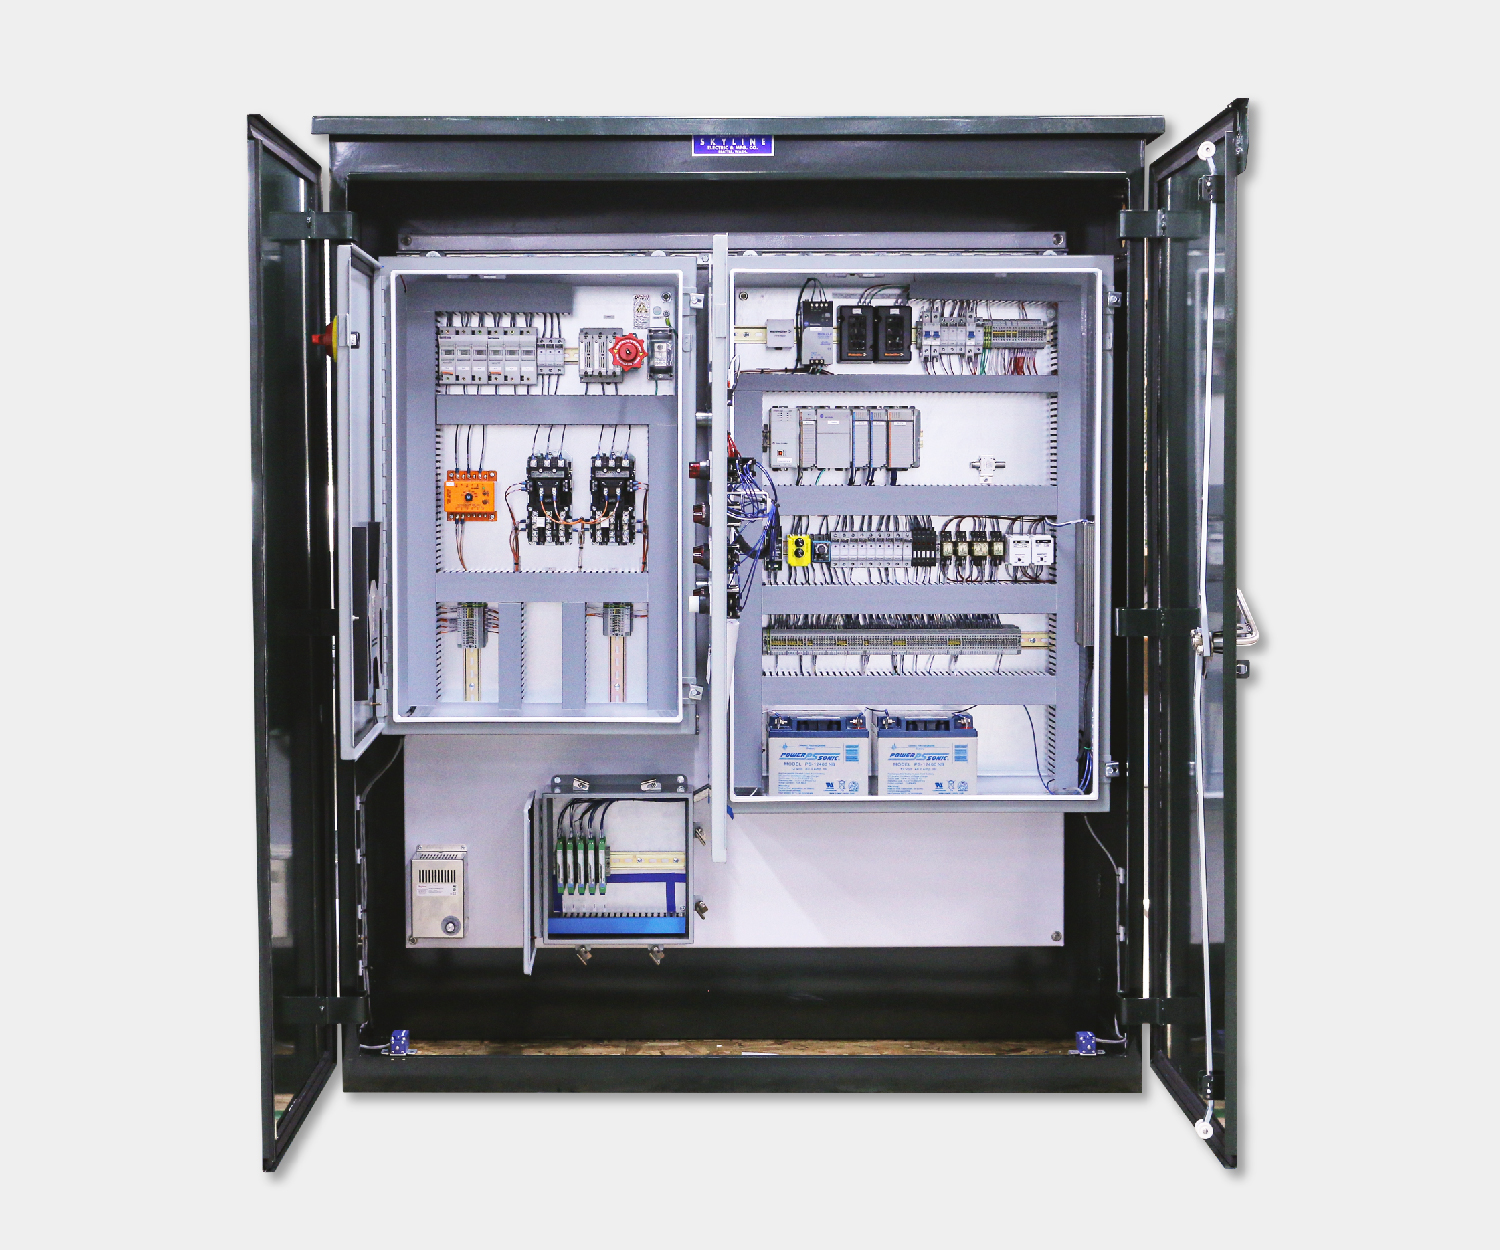
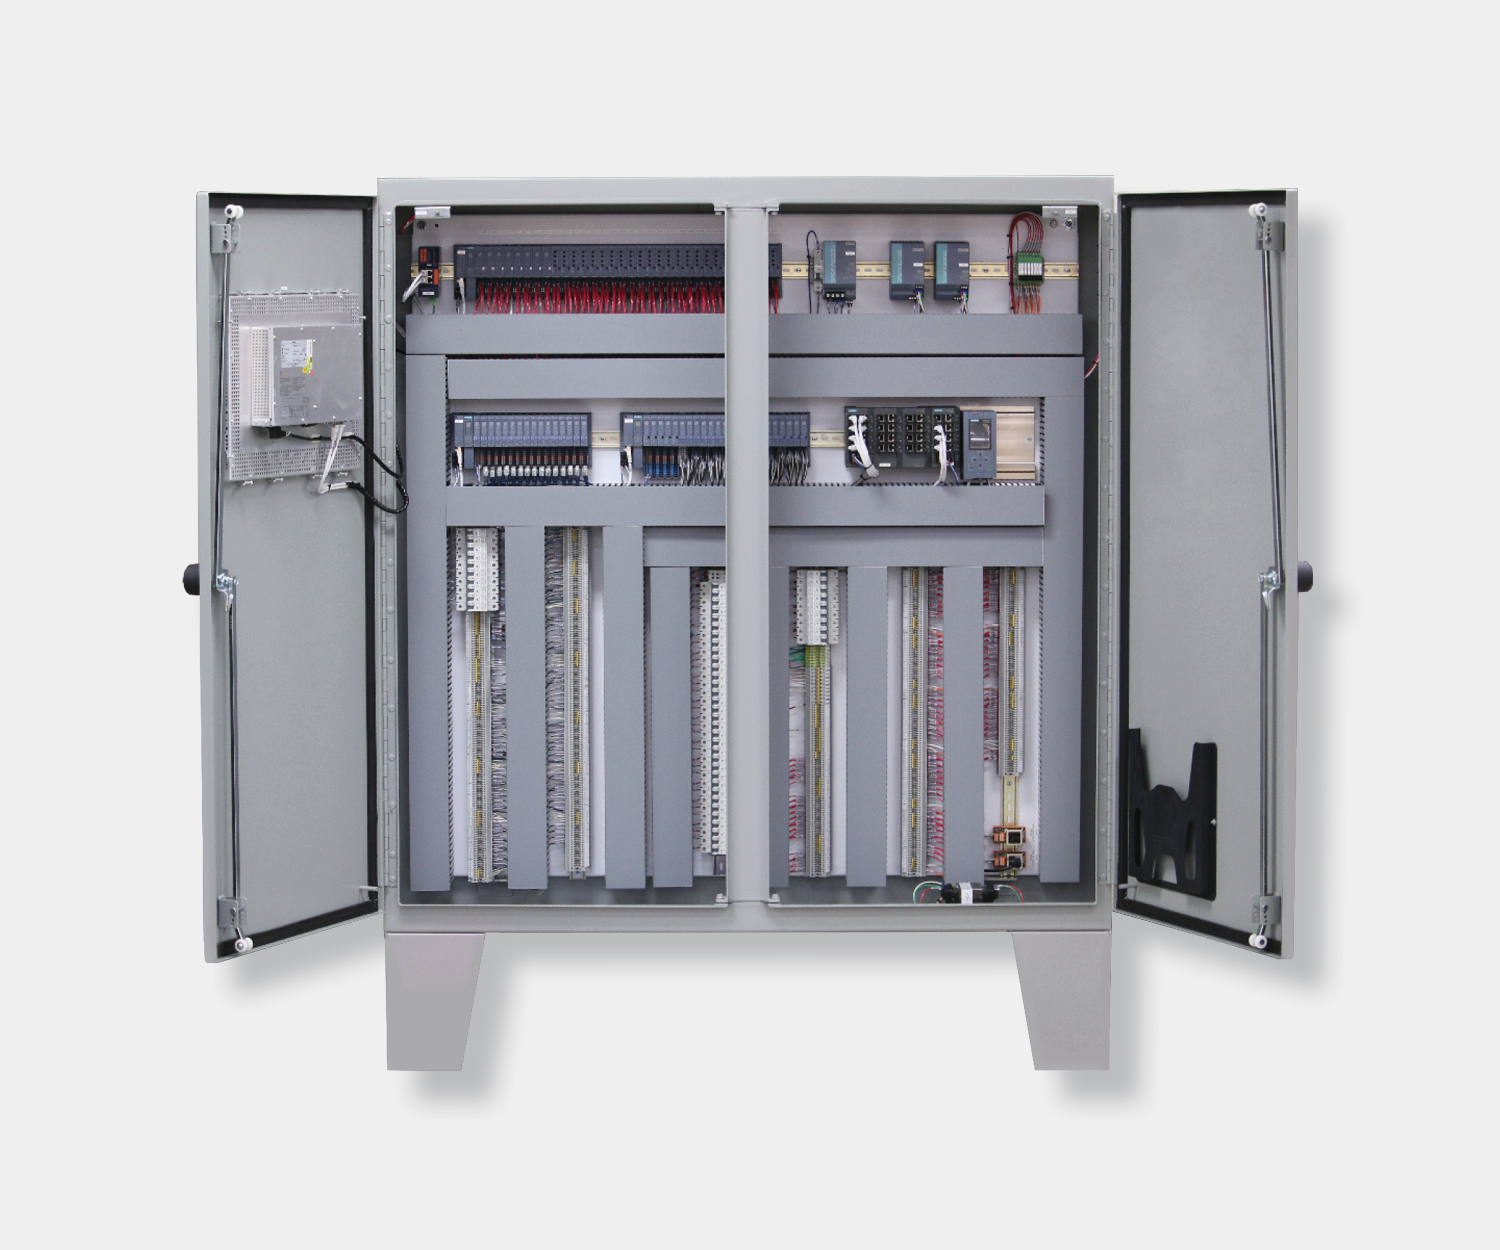
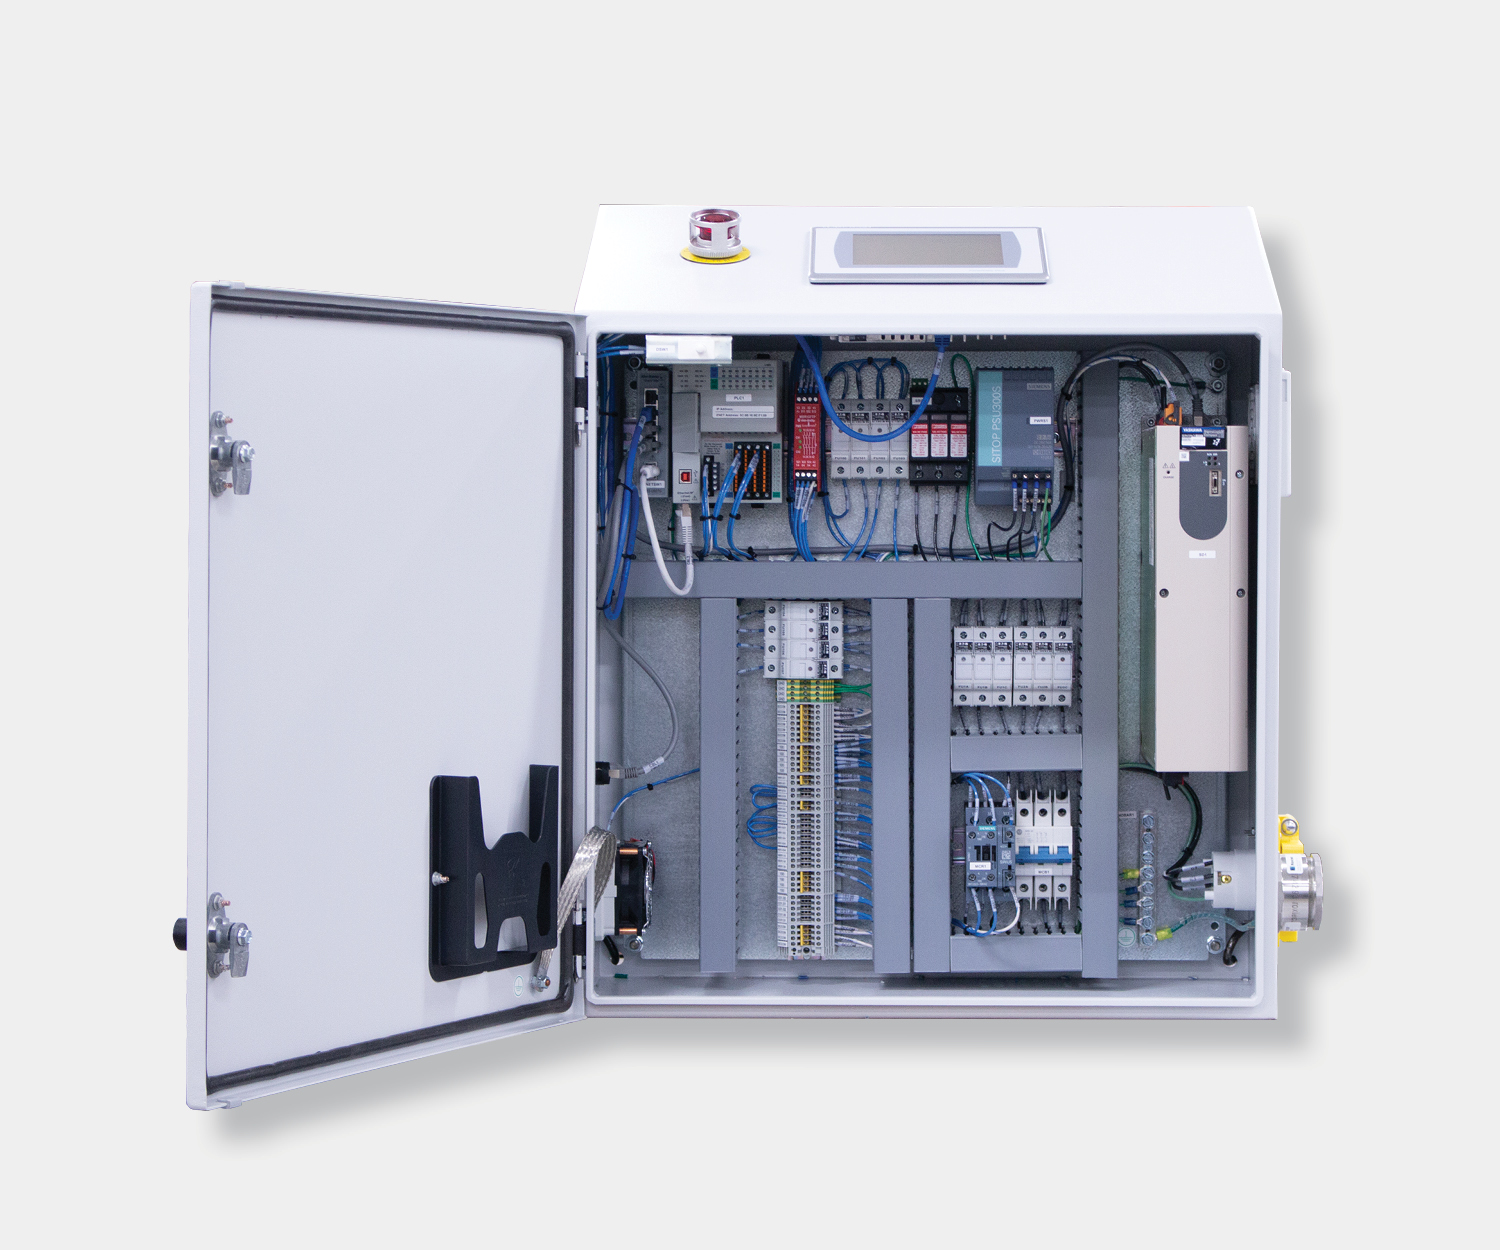
Where power meets the panel
The fused knife disconnect sits at the boundary between your facility’s electrical system and your control panel. It’s the first component to see incoming power and the first thing maintenance reaches for when they need to kill it.
Get the selection and installation right and your panel meets code. Get the maintenance right and your LOTO procedures actually work when it matters.
Want to see how the fused knife disconnect fits into the bigger picture? Our Control Panel Anatomy guide walks through every major component and how they work together.
Need help designing control panels with properly specified disconnects and protection? We can help you get it right from the engineering stage.
Frequently asked questions
Q: Why use a fused disconnect instead of a plain circuit breaker as the main disconnect?
Fused knife disconnects provide visible confirmation that power is off. You can see the open blade gap, which eliminates guessing during lockout/tagout. They also typically offer higher interrupting capacity than similarly priced circuit breakers, which helps improve the panel’s overall SCCR.
Q: How do I know what amp rating to select for the main disconnect?
The disconnect must be rated for at least the total connected load of the panel. Your panel designer calculates this based on all loads in the panel plus applicable NEC demand factors. Oversizing slightly is fine. Undersizing is a code violation.
Q: What information does my panel builder need to spec the main disconnect?
At minimum: incoming voltage, total connected load in amps, available fault current at the installation point, and whether you need a NEMA-rated enclosure. The fault current number is the one people most often leave out, and it’s critical because it determines fuse interrupting capacity and the panel’s SCCR requirements. Your utility or facility electrician can provide it.
Q: How does the main disconnect relate to the panel’s power distribution blocks?
The fused knife disconnect is upstream of everything else. Power flows through the disconnect first, then to the power distribution blocks that split it into branch circuits. If the disconnect trips or is opened for maintenance, the entire panel loses power.